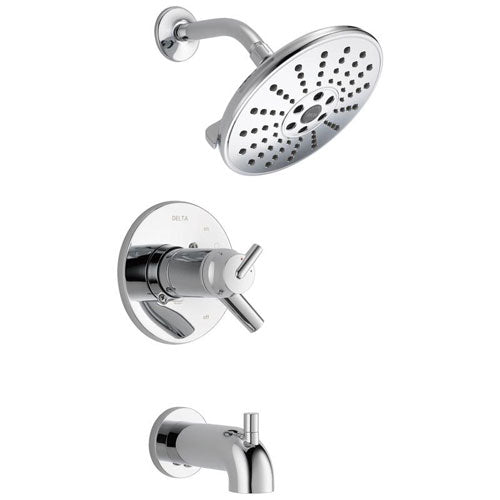
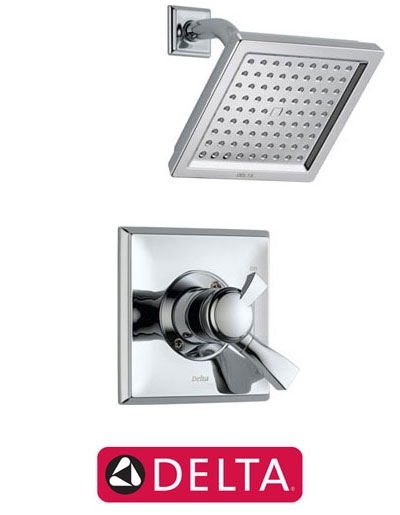
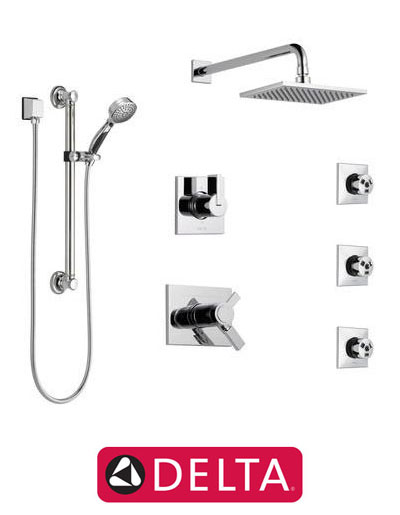
Buying a clawfoot tub shower can be a little tricky. There are a lot of elements that go into building an operating clawfoot tub faucet with shower enclosure and shower head. At FaucetList.com we have simplified this process by putting together complete Clawfoot Tub Shower Faucet Kits. Using our 40+ years of experience we have taken the guesswork out of buying a clawfoot tub faucet with both a handshower and a normal shower. Shop with confidence and purchase a great, ready to install claw foot bathtub shower combination kit with shower curtain enclosure rod today!
But Wait!! Isn't this article supposed to be a how-to?? If you already have your clawfoot tub shower kit and are ready to install it please keep reading. If you do not yet have your clawfoot bathtub shower fixtures and still need to make a purchase decision, check out the buying guide for information on how to purchase a clawfoot tub shower or start browsing all Clawfoot Tub Showers.
This article will explain the installation of a typical Clawfoot Tub Shower. This how-to install guide is specific to Kingston Brass brand clawfoot tub shower fixtures, however it is also applicable to other brands. Keep in mind, we highly recommend you use a professional plumber to make sure installation goes smoothly as this can be complicated for first timers. For additional help, check out our clawfoot tub shower video installation guide.

Note*** Before installing the conversion kit items, first position your Clawfoot Tub in its intended location. Next, install the Supply Lines, Drain, and mount the Clawfoot Tub Faucet to your Tub. Only after these first steps are completed will you be ready to install the Shower Kit Hardware Fixtures.
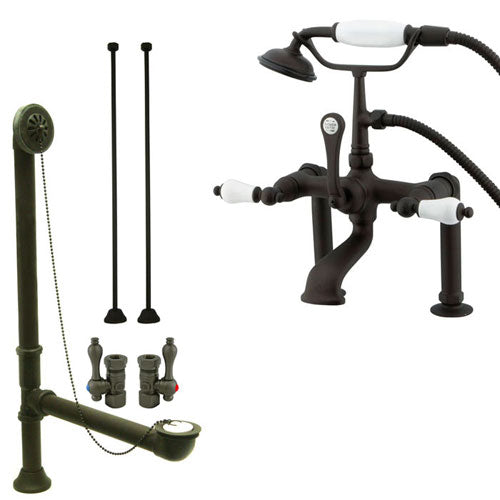
The image to the left is an overview of how the Clawfoot Tub Shower Conversion Kit assembles. The Clawfoot Bathtub Shower Conversion Kit is the group of fixtures that attach to your Clawfoot tub faucet to add full shower capability.
The Shower Riser pipe attaches to the top of your clawfoot tub faucet via the diverter button fixture at the base. The diverter attaches with the bottom bolt directly to the clawfoot tub faucet body. The diverter button is designed to allow you to switch between a handheld shower and the normal showerhead.
The handheld shower bracket slips over this riser pipe before you pass the pipe through the shower curtain enclosure ring. You can secure it in place at your desired height. The handheld bracket is where your handheld shower will rest when not in use.
You can see in the image how the wall support bracket attaches the clawfoot tub shower curtain ring to the wall. There is another bracket (not shown in this image) which will attach the enclosure curtain ring to the ceiling. These braces will hold the shower curtain ring in place. Mounting screws are used to secure the support brackets to the wall and ceiling.
The showerhead simply screws on to the arched pipe neck at the top, completing the unit. Make sure to wrap teflon plumbers tape around the threaded pipe before attaching the showerhead to prevent leaking.
Note*** Slide the handheld shower mount over the shower riser pipe BEFORE attaching the pipe to the faucet! The diagram to the left illustrates the order you want to follow. Top items go first.
This shows how the diverter and hand shower will assemble with the faucet body. The coupling nut slides up the riser and a compression gasket (made of rubber) is placed between the coupling nut and diverter. You fit the compression gasket over the end of the shower riser pipe and rest it in the hole at the top of the diverter. Then bring the coupling nut down, compressing the rubber gasket, and screw it over the external threads of the diverter until it fits snugly into place. This will create a watertight seal between the faucet and the shower riser pipe.
At the base, the diverter mounts directly to the externally threaded pipe coming up from your clawfoot tub faucet body using a rubber washer and another coupling nut to create a water-tight seal. This image also shows where the handheld shower hose attaches to the threaded pipe on the side of the diverter.

Here is a closer look at the diverter connection. The nut slides up and over the riser. The compression washer also slides up and over the end of the riser pipe and then, the nut threads on to the hand shower diverter. As you tighten the nut, you will secure and seal the connection between the riser pipe and the diverter.

Here is a more detailed look at the hand shower pole cradle bracket and the riser coupler. The pole cradle slides over the riser and is held in position by the set screw. The lower riser pipe threads into the bottom of the coupler and the upper riser to the top of the coupler. Use teflon tape on the riser threads.

See the close-up here to illustrate how the rail connector brings all the pieces together. The arched spout for the showerhead rises from here, the left and right curved shower curtain bars hook on with set screws, and the wall support threads on to the back. When assembling the clawfoot tub shower curtain enclosure wall support, note that both ends are threaded. One threaded end will screw in to the threads of the wall support rail connector. The other end can be trimmed as needed. this end fits into the socket of the bracket and does need thread. It will be secured by a set screw.

Here is the wall support bracket in detail. Mounting screws hold the flange to the wall. A set screw secures the end of the support rod in the wall support bracket. You can cut the Claw foot shower enclosure wall support tube to fit your specific needs as it only threads into the rail connector, not the wall bracket.

The ceiling Support bracket assembles in much the same way as the wall support bracket. One end of the rod threads into the ceiling support rail connector. The other end of the support bracket fits, but does not thread into the socket of the ceiling support bracket. It is secured by the set screw. You can also cut the ceiling support to fit your requirements.

After reading through the how-to install guide, you may still have some questions. If you plan to install a Clawfoot Tub Shower it may be helpful for you to review the Clawfoot Tub Shower Buying Guide so you understand all the parts. If you don't want to create your own kit, choose one from our great, already built, Clawfoot Tub Shower Kits! We recommend you have a plumber help you with the installation, however if you take the time to learn about the different elements that make up a clawfoot bathtub shower package you will find it possible to install yourself. For additional installation help, check out our clawfoot tub shower video installation guide.
We wrote this installation guide because we wanted to help our customers understand what they are buying and assist you with making an informed decision. Many people like to look over installation instructions prior to purchase so they can be sure the clawfoot tub fixtures sold will work for their particular situation. Our goal here is to help you buy the proper clawfoot tub shower hardware so you can enjoy the full benefit of your new or vintage clawfoot tub! With the addition of a shower you can benefit from the best of both worlds. A Shower for when you need to run out the door, and a long relaxing soak when you have time to enjoy.
If you found this guide helpful please "like" us on Facebook. We are pretty new to the whole social media thing and would appreciate your support!
Disclaimer and Disclosure: FaucetList.com does not accept money, gifts, samples or other incentives in exchange for special consideration when preparing our buying guides. However, we do receive a referral fee from online retailers (such as Amazon) when readers click over to their websites from ours. As an Amazon Associate FaucetList.com earns from qualifying purchases. This helps cover the cost of operation of our free blog. Thanks for your support.

Co-founder, FaucetList.com, Plumbing Industry Experience: 25+ years
Nick Kuzmin has been working with or around plumbing products for over 25 years. This lifetime of experience has given him a large amount of useful and practical knowledge on almost all plumbing related topics which he freely writes about and shares online. Nick co-founded FaucetList.com with his father Jim in 2011.
Comments will be approved before showing up.

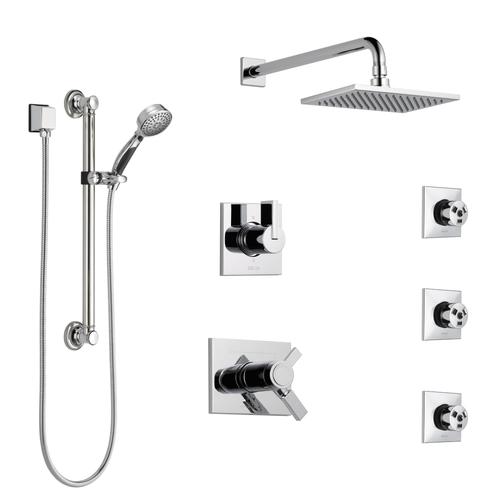
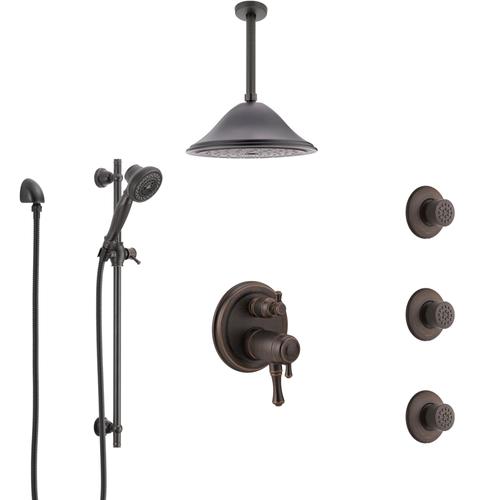
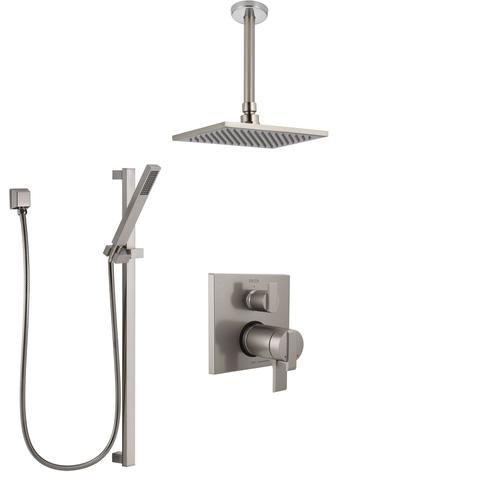
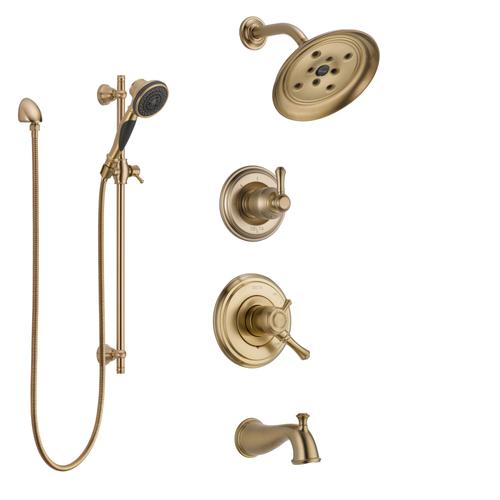
A rain shower head system in your primary bathroom brings a luxury spa feeling into your home and the best ceiling mounted rain shower head systems allow you to enjoy this spa relaxation magic on a daily basis! Read this guide to learn everything you ever wanted to know about rain shower systems with ceiling mounted showerheads. Using our 40 years experience, we will teach you everything you need to know on how to build your own rain shower system and show you some gorgeous sample installations along the way!

Kitchen remodeling and renovations can be daunting, time consuming, and demanding. Even with all the challenges that may come with renovating, updating your kitchen is never a bad idea. Choosing new finishes, fixtures, appliances, and materials really helps you connect with the space and make your kitchen yours. Check out our article on the top 10 kitchen remodeling and renovation ideas for 2022. You'll see tons of great images and learn about all the hottest design trends. Read the article now!
 Small bathrooms can sometimes be difficult to design. Fortunately, you can check out our Top 10 Small Bathroom Design Ideas for inspiration! Traditional bathroom designs typically feature larger cabinets, separate tub and shower stalls, double vanities, and other fixtures that just won't work in a small space. As home trends change and people become more adventurous with unconventional spaces, we are seeing more and more small bathrooms featuring highly functional fixtures and stunning designs! In this article you will see lots of beautiful small bathroom pictures and learn about clever fixtures designed to work perfectly in small spaces!